Ok, so it has been a while since I have posted, but in all honesty, most of you know that I LOVE to be outside as long as the weather permits. Card making is my first love when I am inside the house ;) That being said, I have been quite busy trying to get some of my stuff organized. I love to create but when all my stuff is all over I get lost in the confusion and then I stop creating. So I set out to take care of my problem. This is going to be a rather long post, so if you don't want to hang out for this, not a problem, more short posts will be on the way when I get everything moved back into my neat crafting area.
 I love to use my Distress stuff the most, so I needed to put together a "Distress Center" to organize it all. I had a bunch of 3/8" foam core left over from a wedding anniversary project I did a couple of years ago, so thought it was time to put it all to use. I measured out the area I had to put my stuff in, then measured the stuff I needed to organize. Then drew a grid that would contain all 48 colors of the pads, reinkers, blending pads, stains, etc. and it looked like this.

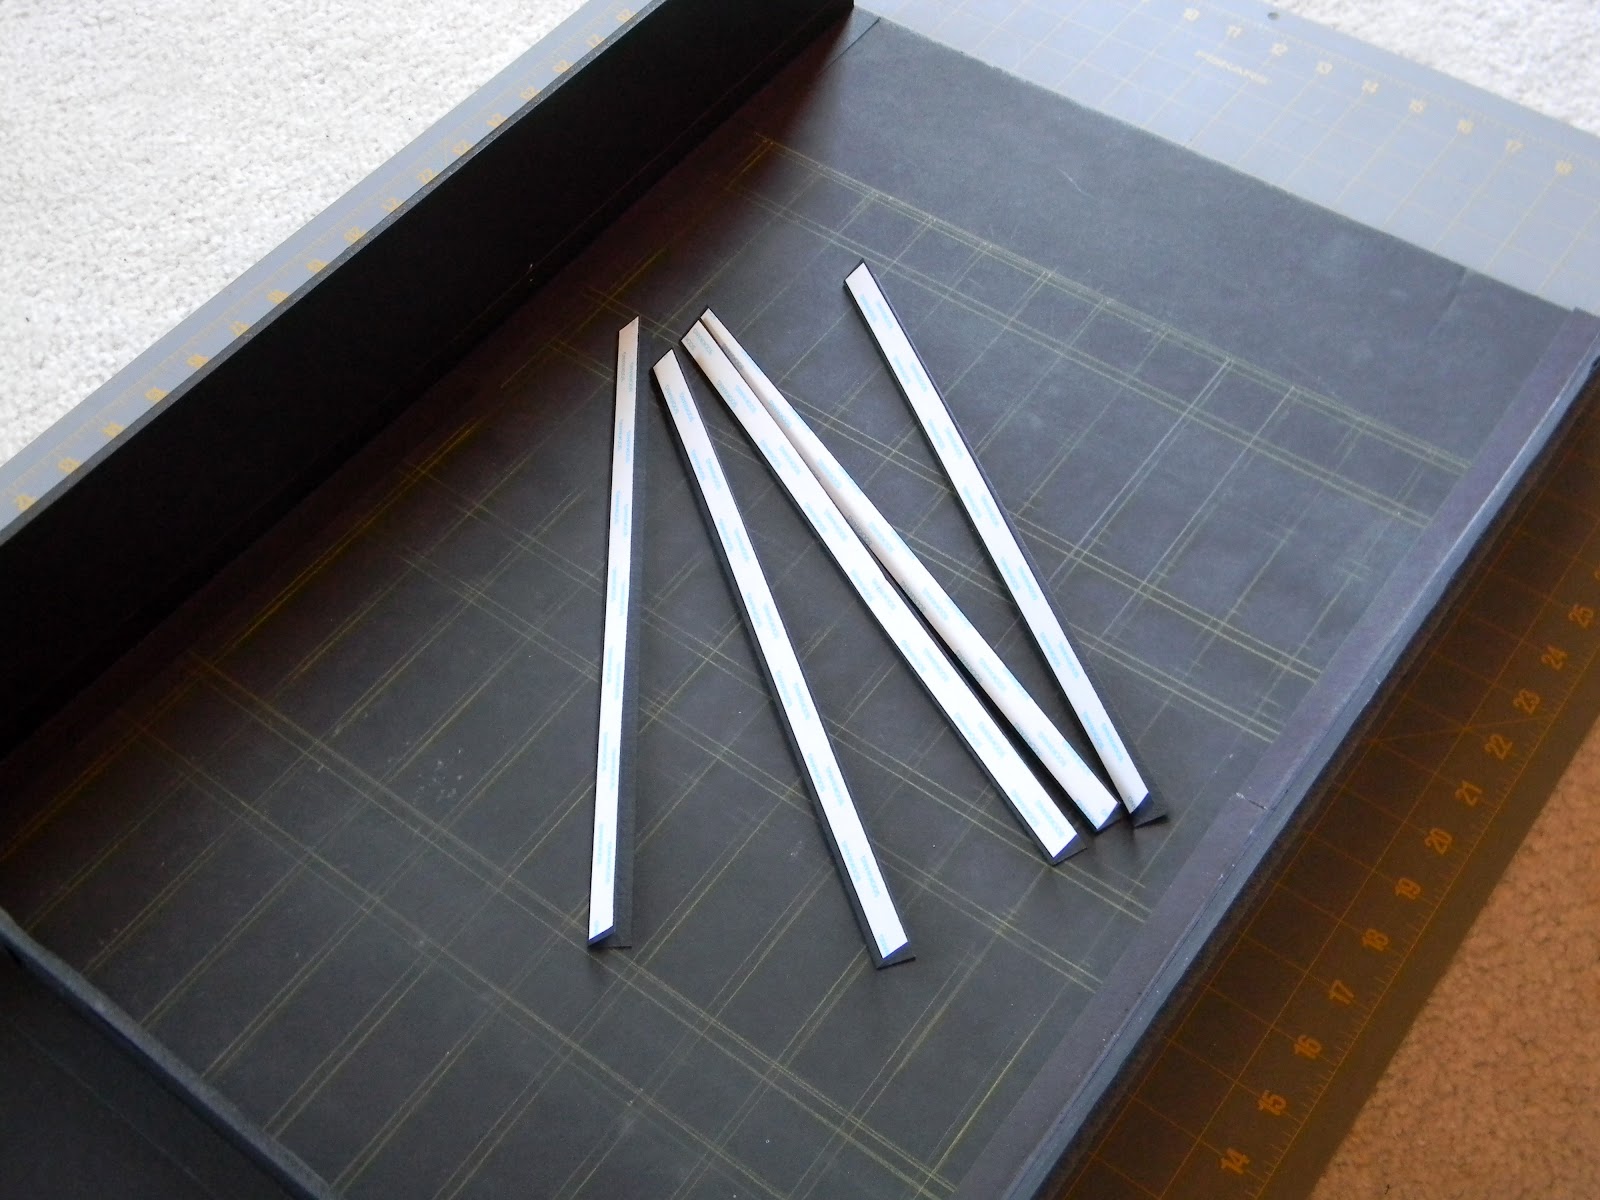
Then it was time to start cutting out the lattice that was going to support the pads and reinkers. I needed 8 vertical supports and with 48 pads that meant I needed 12 horizontal supports, so I started cutting. The pads measure 3" X 3" and I wanted to be able to get them out easily so I made the horizontal supports 2 1/2 inches, the reinker bottles are 3 inches tall and 1 inch in diameter so I needed the Vertical supports to be 3" in depth to hold the bottles in. To interlock the grid pieces I punched a hole in 1" deep into each horizontal and vertical piece with my hole punch, then used the craft knife and a steel ruler to cut straight lines out from the holes that were punched. After cutting all of these this is what I had.


Next I put the grid together.


I wasn't exactly sure what I wanted this to look like so once I got the inside structure finished I used some TH Tissue paper to give some texture and background to the project.


From here on out I had to decide what I wanted to do with everything I had in the disress line. So I began cutting shelves and drawers. I enclosed the top area to make a shelf for the stains and other misc. things that would be to tall for drawers or shelves. Then I made three panels that I adheared match book boxes to and fit blending pads in them. Then labels the blending pads alphabetically so that if I couldn't see the actual name of the color I would know where it was in the line up. Here are the blending pad tabbed boards.


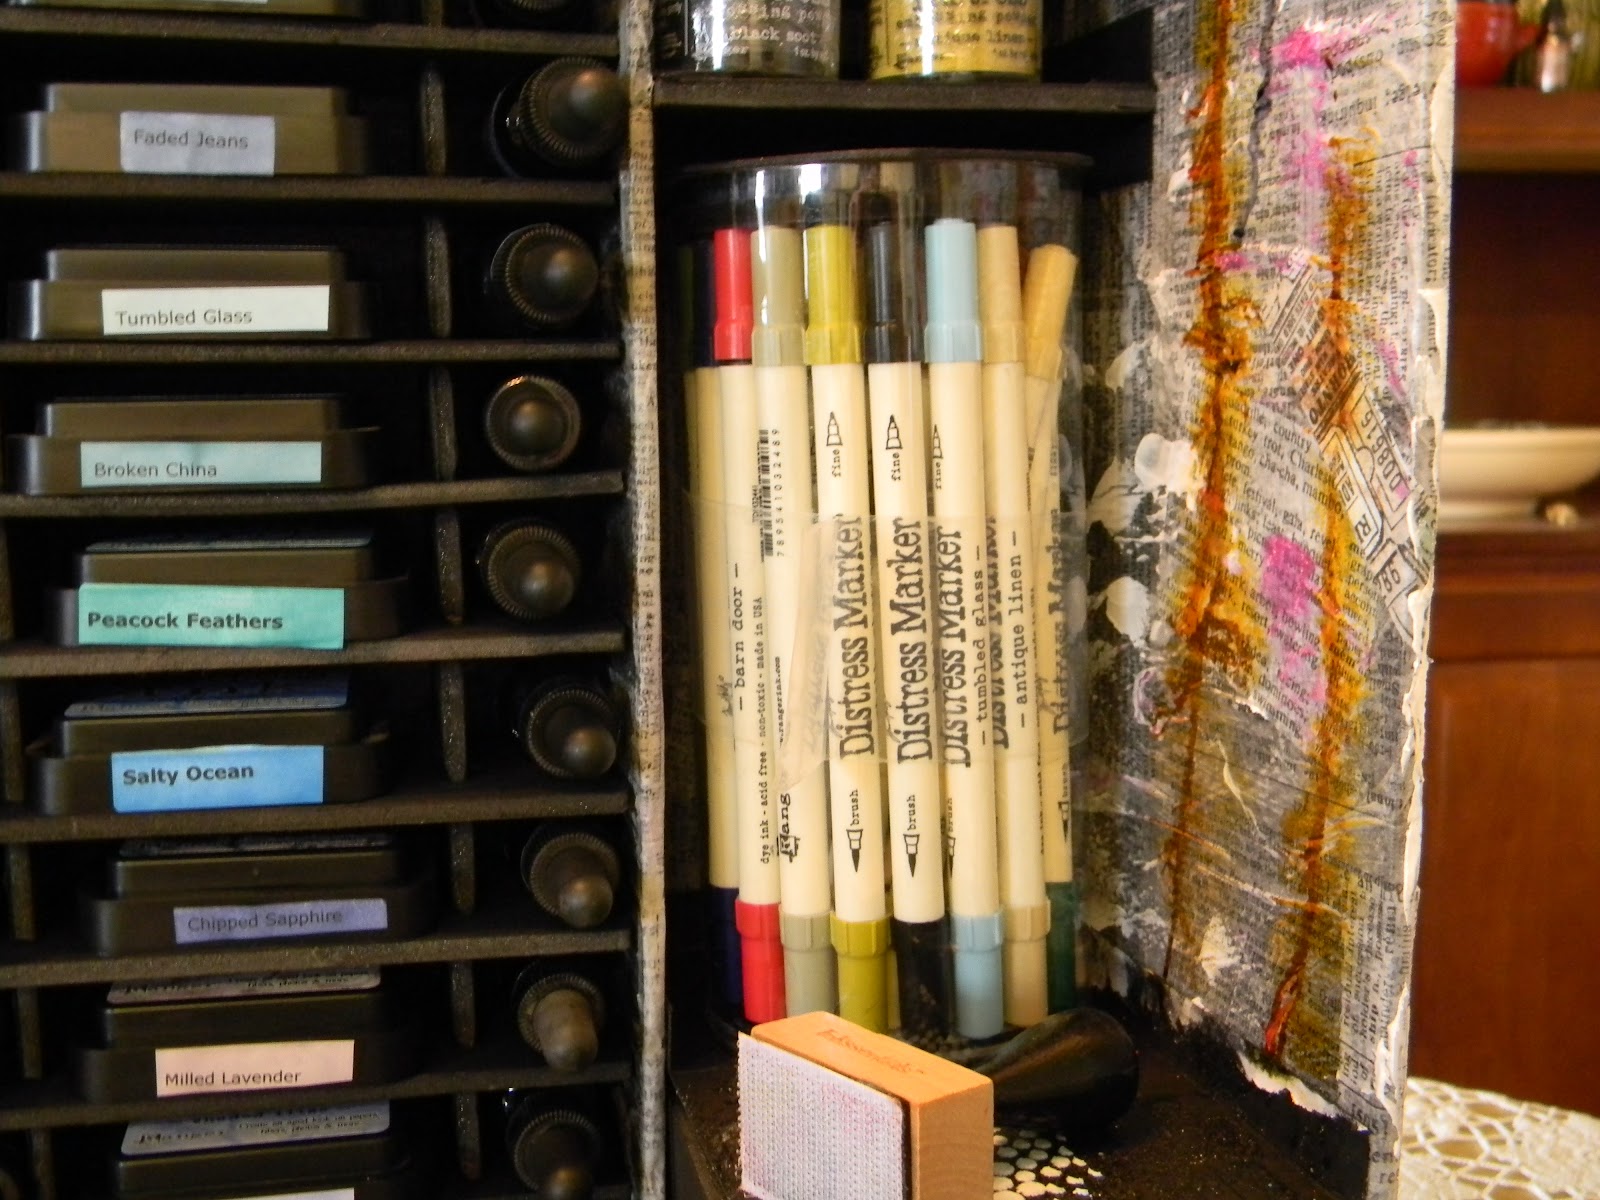
I also wanted my Distress Markers by everything else, so I made a space on top of the drawer and put a "tape pull" on the marker container. Above that I made two more shelves to finish up the space.

Finally there are the pictures of the top stain area. Behind the stains I made a small place for the TH charts that you can download at Ranger's website. I love my new Distress Center and plan on making separate centers for all my EP's, Mica's, Glimmer type mists and glitters. I'll be so organized that cards will be coming out my ears again! lol. Here are the last pics.


Hope you enjoyed the tour of my new center.
2 comments:
This is SO AWESOME!!! Jealous here! Wish my stash looked have this good! Thank you for all your wonderful comments! I wish you the merriest Christmas ever!!!
Clever idea, love it!
Post a Comment